
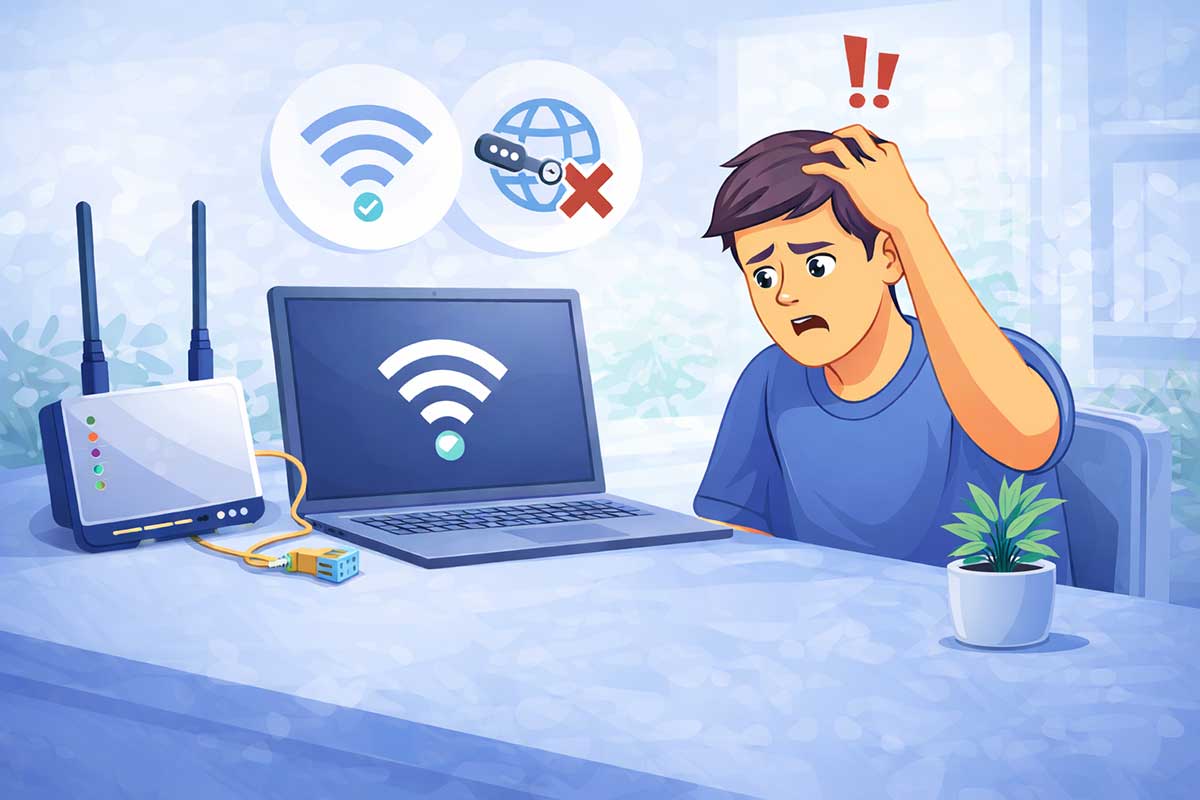
If your device says “Connected” but you still have no internet access, it can be confusing and frustrating. You might see full Wi-Fi bars, but websites won’t load, apps stop working, and everything feels slow or completely offline.
This is one of the most common internet problems people face today—and the good news is, it’s usually easy to fix.
👉 In this beginner-friendly guide, you’ll learn 12 proven fixes that can restore your internet connection on Windows PCs, Macs, Android phones, iPhones, and home Wi-Fi networks.
If you’re experiencing multiple internet issues, also read our complete troubleshooting guide:
👉 How to Fix Internet Connection Problems (Beginner-Friendly Guide)
https://eworldhelper.com/tech-fixes/how-to-fix-internet-connection-problems/
Why Does My Device Say “Connected but No Internet”?
When your device says “Connected but No Internet”, it means it has successfully connected to your Wi-Fi router or Ethernet network, but the router itself cannot access the internet or your device cannot communicate with internet services properly.
This problem can happen for several reasons, including:
Fortunately, most of these problems can be solved in just a few minutes without replacing your router or calling technical support.
Quick Answer
If your device is connected to Wi-Fi but has no internet access, try these quick fixes first:
If none of these solutions work, continue with the detailed troubleshooting steps below.
Before You Start
Before changing any settings, answer these simple questions:
Is every device affected?
If all devices connected to your Wi-Fi have no internet, the problem is most likely with your router, modem, or Internet Service Provider (ISP).
If only one device has the problem, the issue is usually related to that specific computer or phone.
Can you use mobile data?
Turn off Wi-Fi on your phone and switch to mobile data.
If websites load normally, your internet provider or home network is likely causing the problem.
Are the router lights normal?
Look at your router or modem.
If the Internet, WAN, or Online light is red, orange, flashing continuously, or completely off, your router may have lost its internet connection.
12 Easy Fixes That Actually Work
Work through the following solutions in order. After completing each step, test your internet connection before moving to the next one.
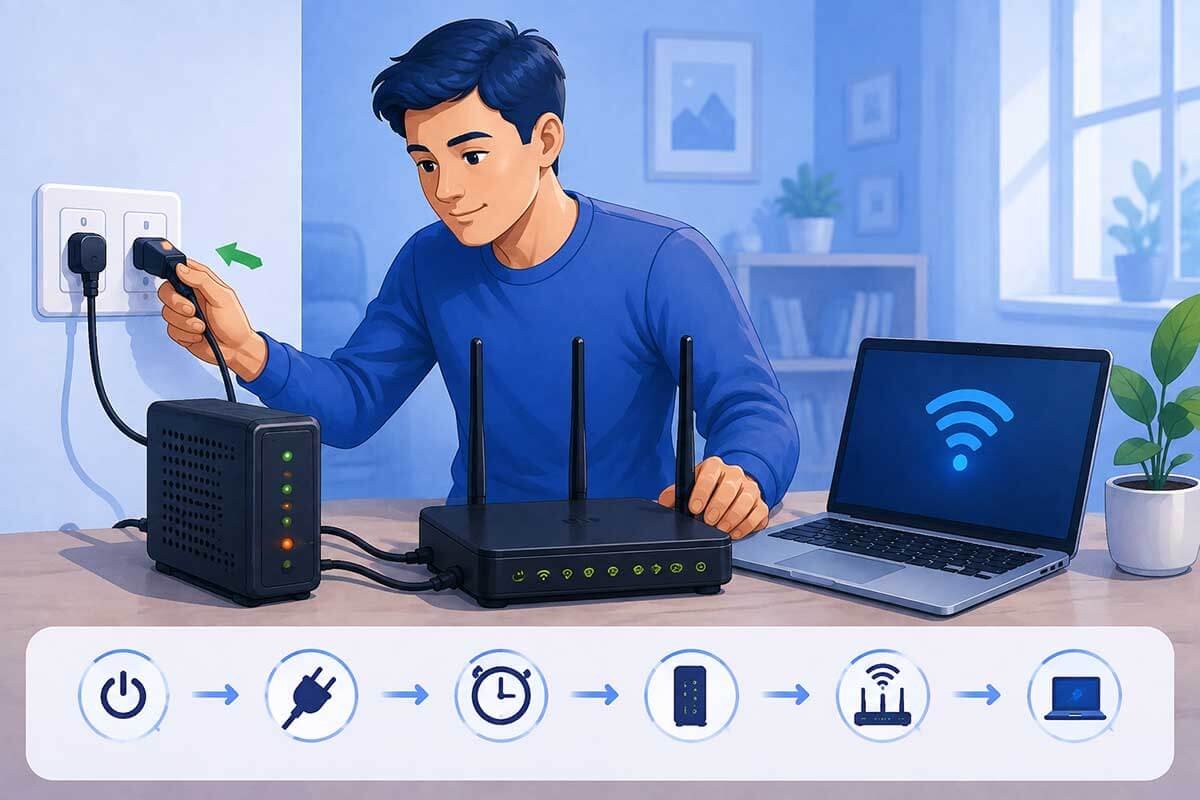
1. Restart Your Router and Modem
Restarting your router and modem is the easiest and most effective solution for many internet problems. Over time, networking equipment can develop temporary software glitches, memory issues, or connection errors that prevent internet access even though your device still shows “Connected.”
A simple restart refreshes the connection between your router, modem, and your Internet Service Provider (ISP).
How to restart correctly
Why this works
Restarting your networking equipment can:
If it still doesn’t work
If restarting doesn’t restore your internet connection, continue to the next troubleshooting step below.
Tip: If you often need to restart your router, check whether a router firmware update is available. Older firmware can cause frequent connection problems.
2. Restart Your Device
Sometimes the problem isn’t your internet connection at all—it’s your phone, laptop, or desktop computer.
After your router reconnects, your device may still hold an outdated network session or temporary network error. A simple restart clears temporary files, refreshes network services, and reconnects to your Wi-Fi from scratch.
Restart your device
Restart whichever device is having the problem:
Wait until the device fully starts before reconnecting to your Wi-Fi network.
If only one device has no internet
If every other device in your home can access the internet but one device cannot, the issue is almost certainly with that specific device rather than your internet connection.
Common causes include:
In many cases, simply restarting the device fixes the problem.
Quick Tip
If restarting doesn’t work, forget the Wi-Fi network and reconnect using your Wi-Fi password. This refreshes the saved network settings and often resolves connection problems.
👉 If your Wi-Fi disconnects frequently after reconnecting, continue with our guide:
Wi-Fi Keeps Disconnecting? How to Fix It Step by Step (Beginner Guide)
https://eworldhelper.com/tech-fixes/wifi-keeps-disconnecting/
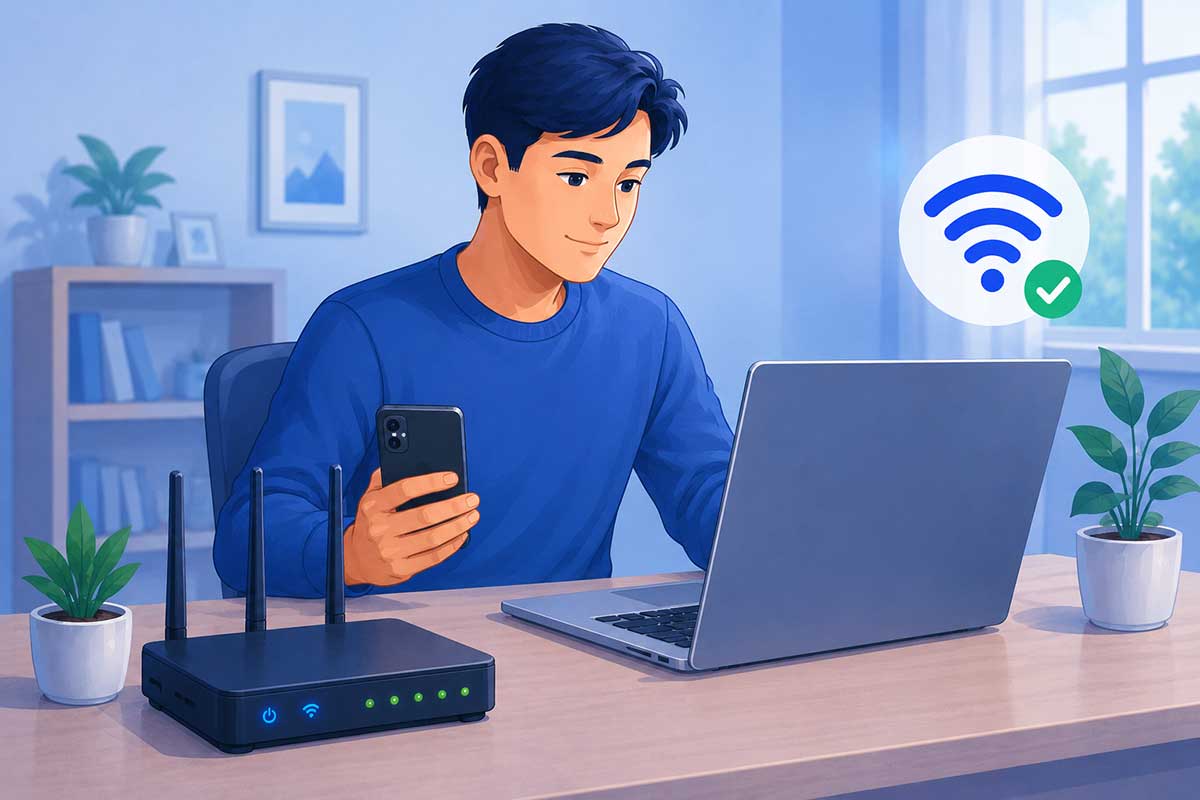
3. Check If Other Devices Have Internet Access
Before changing advanced settings, check whether the problem affects only one device or your entire network. This simple test can quickly help you identify where the issue is coming from.
If every device in your home has no internet, the problem is likely your router, modem, or internet service provider. However, if only one phone, tablet, or computer is affected, the issue is probably with that specific device.
Try these quick checks:
What the results mean
Only one device has no internet
All devices have no internet
Tip: Testing multiple devices can save time by helping you avoid unnecessary troubleshooting on a device that’s working properly.
If your device has other issues besides internet problems, you may also find this guide helpful:
Why Is My Device Not Working? Easy Fixes for Beginners
https://eworldhelper.com/tech-fixes/why-is-my-device-not-working/
4. Forget the Wi-Fi Network and Reconnect
Sometimes, your device may save outdated or corrupted Wi-Fi settings, preventing it from accessing the internet even though it appears to be connected. Forgetting the network and reconnecting creates a fresh connection between your device and your router, which can often resolve the issue.
This is a simple troubleshooting step that works on Windows computers, Macs, Android phones, iPhones, tablets, and many other Wi-Fi-enabled devices.
How to Forget and Reconnect to Your Wi-Fi Network
The exact steps vary depending on your device, but the process is generally the same:
Why This Works
Forgetting and reconnecting to your Wi-Fi network helps by:
If the problem was caused by a corrupted wireless profile, this step often restores internet access within a few minutes.
If It Still Doesn’t Work
If your device reconnects to Wi-Fi but still shows “Connected, No Internet,” continue with the next troubleshooting step. The issue may be related to your network configuration, DNS settings, router, or your Internet Service Provider.
Tip: If only one device is experiencing this problem while all other devices work normally, the issue is most likely with that device rather than your router or internet connection.
If your internet connection is working but websites still won’t load properly after reconnecting, continue with our complete guide:
How to Fix Internet Connection Problems (Beginner-Friendly Guide)
https://eworldhelper.com/tech-fixes/how-to-fix-internet-connection-problems/
5. Check for ISP Outages
Sometimes the problem isn’t inside your home at all. Internet service providers (ISPs) occasionally experience outages due to maintenance, damaged cables, severe weather, or unexpected technical problems.
If your Wi-Fi is connected but there’s still no internet access, it’s worth checking whether your ISP is already aware of the issue.
Here’s what you can do:
If many customers are affected, the only solution may be to wait until the provider restores the service.
Tip: Before calling support, restart your router once and test another device. This helps confirm the problem isn’t caused by your own equipment.
If your internet is working but extremely slowly instead of being completely offline, see our guide:
How to Fix Slow Internet: 10 Easy Ways to Speed It Up
https://eworldhelper.com/tech-fixes/fix-slow-internet/
6. Renew Your IP Address
Every device connected to your home network is assigned an IP (Internet Protocol) address by your router. This unique address allows your device to communicate with the router and access the internet.
Sometimes, your device may receive an invalid, expired, or conflicting IP address. When this happens, your computer or phone may still show that it’s connected to the network, but websites and online services won’t work properly.
Renewing your IP address forces your device to request a fresh address from your router, which can often restore your internet connection.
How to Renew Your IP Address (Windows)
If you’re using a Windows PC, follow these steps:
Once the process is complete, reconnect to the internet and check whether your connection is working.
Why This Works
Renewing your IP address can help solve problems caused by:
This is a safe troubleshooting step that doesn’t delete your files or change your personal settings.
Mac, Android and iPhone Users
Most phones and Macs automatically renew their IP address when you turn Wi-Fi off and back on or restart the device. If that doesn’t solve the issue, continue with the next troubleshooting step.
Tip: If renewing your IP address doesn’t restore your connection, your DNS settings or network configuration may be causing the problem. We’ll cover those in the next sections.
If your computer is experiencing other technical issues in addition to internet problems, check out our guide:
Computer Keeps Freezing or Crashing: Simple Fixes for Beginners
https://eworldhelper.com/tech-fixes/computer-freezing-or-crashing-fixes/
7. Flush Your DNS Cache
Your device stores a temporary record of recently visited websites in a DNS cache. This helps web pages load faster by remembering their IP addresses instead of looking them up every time you visit.
However, if the cached information becomes outdated or corrupted, your device may show that it’s connected to the internet while websites fail to load.
Flushing the DNS cache removes these outdated records and forces your device to request fresh information from the DNS server.
How to Flush the DNS Cache on Windows
If you’re using a Windows computer:
If the command is successful, you’ll see a message confirming that the DNS Resolver Cache has been successfully flushed.
After that, restart your web browser and try opening the website again.
Why This Works
Flushing your DNS cache can help resolve problems caused by:
This is a safe troubleshooting step and won’t delete your files, passwords, or browsing history.
Mac Users
On macOS, the command depends on the version you’re using. The easiest solution for most users is to restart the Mac first. If the issue continues, Apple provides version-specific DNS cache commands through its official support documentation.
Tip: If flushing the DNS cache doesn’t solve the problem, the issue may be with your DNS server itself. In the next step, we’ll show you how changing your DNS server can often restore internet access.
If you’re experiencing general internet issues beyond DNS problems, you may also find this guide helpful:
How to Fix Internet Connection Problems (Beginner-Friendly Guide)
https://eworldhelper.com/tech-fixes/how-to-fix-internet-connection-problems/
8. Change Your DNS Server
Every time you visit a website, your device uses a DNS (Domain Name System) server to translate the website name into an IP address. If your DNS server is slow, unavailable, or experiencing problems, your device may show “Connected, No Internet” even though your Wi-Fi connection appears normal.
Switching to a faster and more reliable public DNS server can often restore internet access and improve browsing performance.
Recommended Public DNS Servers
Two of the most trusted public DNS providers are:
Google Public DNS
Cloudflare DNS
Both services are free and widely used around the world.
If you’d like to learn more about Cloudflare’s public DNS service, visit the official 1.1.1.1 documentation.
How to Change Your DNS Server
The exact steps vary depending on your operating system, but the general process is:
Why This Works
Changing your DNS server may help if:
A reliable DNS server can improve website loading times and help restore access to websites that previously failed to load.
Tip: If changing your DNS server doesn’t solve the problem, don’t worry. Continue to the next troubleshooting step, as the issue may be related to your network adapter or system settings instead.
9. Disable VPN or Proxy Connections
Virtual Private Networks (VPNs) and proxy servers are useful for improving privacy, accessing region-restricted content, or connecting to work and school networks. However, if they aren’t configured correctly or the VPN server is unavailable, they can block your internet connection even though your device still shows it’s connected to Wi-Fi.
If you recently enabled a VPN or proxy before the problem started, temporarily disable it and check whether your internet connection is restored.
How to Disable a VPN
If you’re using a VPN application:
If you’re using Windows’ built-in VPN settings:
Check Proxy Settings
Incorrect proxy settings can also prevent websites from loading.
On Windows:
Why This Works
Disabling a VPN or proxy can help if:
Many users discover that internet access returns immediately after disconnecting a problematic VPN or disabling an unnecessary proxy.
Tip: If you need a VPN for work or privacy, reconnect after your internet connection is working again. If the problem returns, try a different VPN server or contact your VPN provider for assistance.
If your computer continues experiencing unusual behavior after fixing your internet connection, you may also find our guide helpful:
Why Is My Device Not Working? A Step-by-Step Troubleshooting Guide for Beginners
https://eworldhelper.com/tech-fixes/why-is-my-device-not-working/
10. Update Your Network Drivers
If you’re using a Windows computer, outdated or corrupted network drivers can prevent your device from communicating properly with your router or modem. As a result, your computer may show that it’s connected to the network, but you still can’t access the internet.
Keeping your network drivers up to date helps improve compatibility, fix known bugs, and ensure your computer communicates correctly with your network hardware.
How to Update Network Drivers (Windows)
Follow these steps:
If Windows doesn’t find a newer driver, visit your computer or network adapter manufacturer’s official website to download the latest version.
Why This Works
Updating your network driver can fix problems caused by:
Installing the latest driver often improves both network stability and overall connection reliability.
If the Driver Is Already Up to Date
If Windows reports that you’re already using the latest driver and the problem still exists, continue with the next troubleshooting step. The issue may be related to your network settings rather than the driver itself.
Tip: Avoid downloading drivers from unofficial websites. Always use Windows Update or your device manufacturer’s official support page to ensure you’re installing safe and compatible software.
11. Reset Your Network Settings
If none of the previous solutions have worked, resetting your network settings can often resolve persistent connection problems. This process removes saved network configurations and restores your device’s networking components to their default settings.
Don’t worry—resetting your network settings won’t delete your personal files, photos, or documents. However, you’ll need to reconnect to your Wi-Fi network afterward and re-enter your Wi-Fi password.
How to Reset Network Settings
The exact steps vary depending on your device, but the process is straightforward.
Windows
Android
iPhone
Why This Works
Resetting your network settings can fix issues caused by:
It gives your device a fresh start and often resolves stubborn internet connectivity issues that other troubleshooting steps couldn’t fix.
Tip: Before resetting your network settings, make sure you know your Wi-Fi password. You’ll need it to reconnect after the reset is complete.
If you’re still experiencing multiple technical issues after resetting your network settings, explore our complete troubleshooting hub:
Common Tech Problems and How to Fix Them
https://eworldhelper.com/tech-fixes/common-tech-problems-how-to-fix/
12. Contact Your Internet Service Provider (ISP)
If you’ve tried all the troubleshooting steps in this guide and your device still shows “Connected, No Internet,” the problem may be outside your home network.
Your Internet Service Provider (ISP) may be experiencing:
In these situations, only your ISP can investigate and restore your internet connection.
Before You Contact Your ISP
To help the support team diagnose the problem more quickly, have the following information ready:
Providing these details can save time and help the support representative identify the issue more efficiently.
When You Should Contact Your ISP Immediately
Contact your ISP if:
In many cases, the ISP can run remote diagnostics, reset your connection, or schedule a technician visit if necessary.
Quick Summary
If your device is connected but has no internet access, try these fixes in order:
Following these steps will solve most “Connected, No Internet” problems without needing professional technical support.
Frequently Asked Questions (FAQ)
Why does my device say “Connected, No Internet”?
This usually means your device has successfully connected to your Wi-Fi router, but the router can’t access the internet or your device can’t communicate with internet services. Common causes include router issues, ISP outages, incorrect DNS settings, IP address conflicts, or VPN and proxy problems.
Why does my Wi-Fi show connected but websites won’t load?
If websites won’t load even though you’re connected to Wi-Fi, the problem may be caused by an internet outage, a DNS issue, a faulty router, or incorrect network settings. Restarting your router and following the troubleshooting steps in this guide often resolves the issue.
Can restarting my router really fix internet problems?
Yes. Restarting your router and modem clears temporary software glitches, refreshes your internet connection, and reconnects your equipment to your Internet Service Provider (ISP). It’s one of the simplest and most effective troubleshooting steps.
Will resetting my network settings delete my personal files?
No. Resetting your network settings only removes saved network configurations such as Wi-Fi passwords, VPN settings, and Bluetooth connections. Your photos, documents, apps, and other personal files remain safe.
Is Google DNS or Cloudflare DNS better?
Both Google Public DNS and Cloudflare DNS are trusted, free public DNS services. Cloudflare is often praised for its speed and privacy, while Google Public DNS is known for its reliability. Either option can help if your ISP’s DNS server is causing connection problems.
Why does only one device have no internet access?
If only one device is affected, the problem is usually with that device rather than your router or ISP. Restarting the device, forgetting and reconnecting to the Wi-Fi network, renewing the IP address, or resetting network settings often fixes the issue.
Conclusion
Seeing “Connected, No Internet” doesn’t always mean there’s a serious problem with your device or internet connection. In most cases, the issue can be resolved by following a few simple troubleshooting steps, such as restarting your router, reconnecting to your Wi-Fi network, renewing your IP address, or updating your network settings.
Work through each solution in order, testing your internet connection after every step. If you’ve tried all 12 fixes and the problem continues, your Internet Service Provider (ISP) can help identify whether the issue is with your service or equipment.
We hope this guide helped you restore your internet connection. If you’re experiencing other computer or networking issues, explore our Tech Fixes section for more beginner-friendly troubleshooting guides.
Looking for more easy troubleshooting guides? Visit our complete resource:
👉 Common Tech Problems and How to Fix Them
https://eworldhelper.com/tech-fixes/common-tech-problems-how-to-fix/